



How to Choose Laminated Safety Glass for Your Project?
Choosing Laminated Safety Glass is not simply a matter of picking a thickness. The right specification depends on what the glass must do, where it will sit, and how it will be supported. A shopfront facing a busy walkway has different needs from a quiet interior partition. The framing, panel size, exposure, and expected impact all matter.
Glazing consultant Mark Meshulam is a recognized voice in glass selection. A practical paraphrase of his professional perspective—not a verbatim quotation—is: “Choose glazing for the real hazard and the complete system, not the pane alone.” That distinction is useful. Laminated glass combines glass layers with an interlayer, often PVB or ionoplast, but performance varies by construction. Ask suppliers for product data and confirm that the proposed build-up suits the framing and project conditions.
A clear brief helps. Note whether the priority is impact resistance, post-breakage retention, sound reduction, or UV control. Some projects need several. Trade-offs are real: added performance can affect cost, weight, and detailing. It is easy to specify too much—or overlook an edge condition that changes performance. I would not treat a product label as proof of suitability. Have a qualified glazing professional review the design, installation details, and applicable local requirements before ordering.
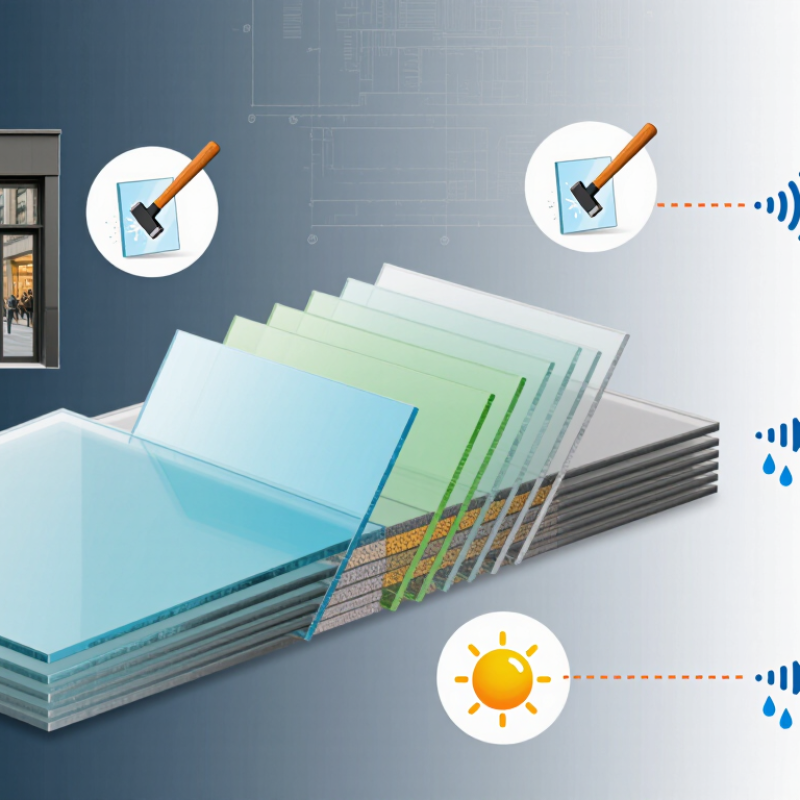
Define the Hazard, Location, and Required Post-Breakage Retention
When choosing laminated safety glass, start with the hazard, not a thickness guess. A low interior partition faces different risks from a shopfront beside a busy walkway. Consider impact direction, likely contact points, nearby stairs, doors, and whether falling fragments could strike people below. Overhead glazing and exposed edges are easy to overlook. That detail matters.
Then map the hazard to the glass location and support system. A pane held on four sides behaves differently from one with exposed or minimally supported edges. Ask a qualified glazier or structural professional to confirm the glass build-up, interlayer, dimensions, and fixings for the project. “Laminated” alone does not define performance; different constructions can crack, flex, and retain fragments differently. The frame counts too.
Finally, define what the glass must do after breakage. Should the cracked pane remain in its frame temporarily, keep an opening secure, or prevent fragments from falling? State the required retention period and acceptable movement, where relevant, and check these against suitable test evidence for the proposed assembly. A glass sample alone may not represent the installed system. Plans can focus on impact resistance and leave post-breakage behavior vague; that gap deserves another look. If people rely on the barrier, document the scenario before ordering.
How to Choose Laminated Safety Glass for Your Project? - Define the Hazard, Location, and Required Post-Breakage Retention
| Project Location | Primary Hazard | Post-Breakage Requirement | Selection Considerations | Design Checks |
|---|---|---|---|---|
| Interior door or partition near a walking route | Human impact and contact with broken glass | Broken pieces should remain bonded to the interlayer to help limit openings and loose shards. | Consider a laminated make-up suitable for the expected impact and the size and support of the panel. Marking and visibility may also be important. | Check applicable safety-glazing rules, impact classification, panel dimensions, and frame compatibility. |
| Floor-to-ceiling exterior window or storefront | Human impact, wind pressure, and possible falling fragments | Retention should be appropriate to the exposure and the consequences of glass breakage. | Choose the glass build-up and interlayer for the design loads and environmental conditions. Laminated glass can retain fragments, but does not make the glazing unbreakable. | Verify wind loads, glass support, edge cover, sealant compatibility, and local code requirements. |
| Overhead glazing, skylight, or canopy | Falling glass fragments after breakage, as well as weather and structural loads | Strong fragment retention is generally important; the complete assembly must remain supported after breakage for the required period. | Use a design specifically evaluated for overhead use. Interlayer type, glass layers, panel size, slope, and support conditions all affect performance. | Have a qualified designer assess post-breakage behavior, drainage, temperature exposure, framing, and applicable overhead-glazing requirements. |
| Balustrade or glass guard | People leaning or falling against the barrier, and potential fall-through after breakage | The system may need to continue providing a barrier after one or more glass layers break. | Specify the required post-breakage behavior for the complete guard system, not just the glass. Edge-supported and point-fixed systems can behave differently. | Check design loads, glass and interlayer build-up, fixings, edge conditions, and project-specific post-breakage assessment. |
| Wet or humid exterior location | Moisture exposure at glass edges and possible loss of long-term durability | Fragment retention should be maintained throughout the intended service conditions. | Consider interlayer suitability for the exposure, edge protection, and the quality of the glazing details. Avoid assuming all interlayers perform identically in every environment. | Confirm manufacturer-neutral material data, edge-seal details, drainage, and compatibility with glazing compounds. |
| Security-sensitive opening | Repeated impacts or attempted forced entry | Glass and interlayer should help hold fragments together, with the required resistance established by testing. | Define the threat level and desired performance first. Ordinary laminated safety glass should not be assumed to provide a specified level of security protection. | Specify a relevant tested assembly and include the frame, anchorage, and hardware in the performance assessment. |
Important: Final glass thickness, interlayer, and support details depend on panel size, loads, framing, exposure, and local regulations. Confirm the design with a qualified glazing professional and the applicable building requirements.