

Silicone Sealant Glue can create a durable, flexible bond when the surfaces are prepared correctly. It works well for sealing and joining materials such as glass, ceramic, metal, and some plastics. However, it is not a universal structural adhesive. The product label should confirm its suitability for each material and application.
Preparation decides much of the result. Remove dust, grease, old sealant, and moisture from both surfaces. A clean, dry surface matters. Apply a steady bead with a caulking gun or nozzle. Press the parts together gently, without squeezing away too much sealant. A smooth joint usually needs a dampened finishing tool and careful timing.
Curing takes patience. The outer skin may feel dry while the center remains soft. Follow the manufacturer’s curing time, especially in cool or humid conditions. Ventilate the workspace, wear suitable gloves, and avoid touching the sealant with bare hands. A small test area can reveal poor adhesion before the main application begins. That step is easy to skip.
Many failures come from rushing or choosing the wrong silicone formula. Some products release strong odors, while others resist mold or tolerate higher temperatures. Reading the technical data sheet gives more reliable guidance than appearance alone. Even experienced users may apply too much material or disturb the joint too early. This guide offers practical direction, but the product instructions and application limits remain decisive. A strong bond is built through clean surfaces, correct pressure, and enough curing time.
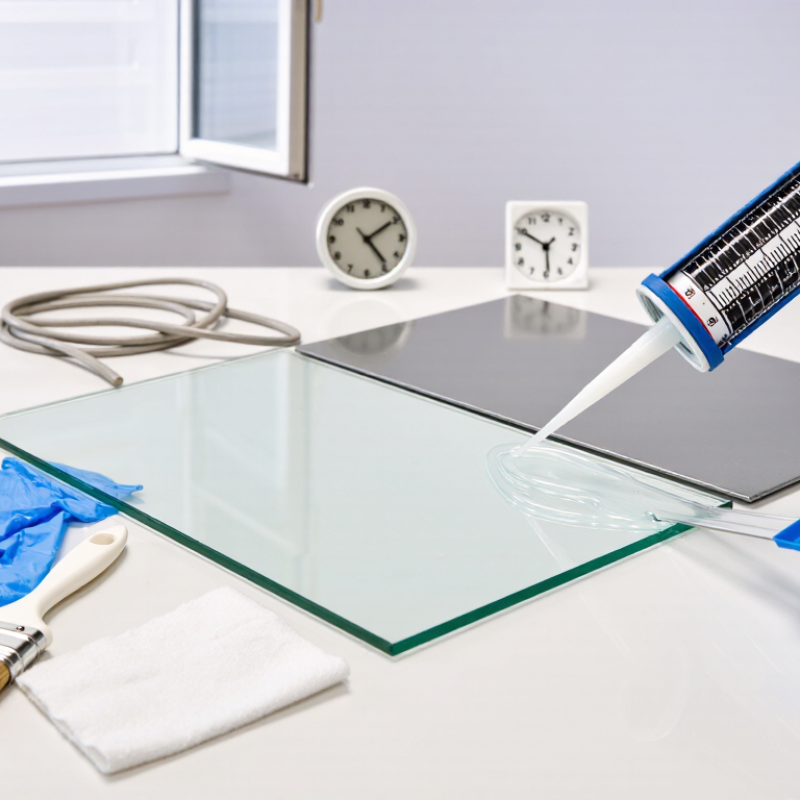
Choosing the right silicone sealant glue starts with the materials involved. Glass, ceramic, and glazed tile usually accept silicone well. Metal also bonds reliably when its surface is clean and dry. Plastics require more caution. Polyethylene and polypropylene often resist silicone adhesion. Test a hidden area before starting. For painted surfaces, check whether the coating is firmly attached. A weak paint layer can fail before the silicone does.
Tips: Match the sealant to the surface and exposure. Choose a neutral-cure formula for sensitive metals, mirrors, or porous materials. Acidic curing formulas may affect some surfaces. Avoid using silicone on dusty, oily, or damp areas. Wipe surfaces with a suitable cleaner, then let them dry completely. Keep the joint narrow and even.
Apply a continuous bead without trapping air pockets. Press the pieces together gently, rather than squeezing out the adhesive. Remove excess silicone with a tool before skin formation begins. Most products need several hours before light handling and longer for full curing. Follow the product’s technical sheet, because temperature and humidity change curing time. I once rushed a repair and found a soft center the next day. That mistake reminded me to judge curing by time and firmness, not appearance alone. A strong bond still needs support while curing.

A strong silicone sealant bond begins before the tube is opened. Dust, grease, soap residue, and moisture can create invisible gaps beneath the bead. Scrape away old sealant with a plastic or approved removal tool. Then clean the joint with a lint-free cloth and a compatible solvent. Allow the surface to dry completely. It should feel clean, not slippery.
I once applied sealant over a slightly damp bathroom joint. It looked smooth, but the edge lifted within weeks. That failure was avoidable. Test a small area first, especially on painted surfaces, natural stone, or porous materials. Mask both sides of the joint, leaving an even working width. Press the fresh bead firmly into the gap, then tool it with a clean, lightly dampened tool. Do not flood the surface.
ASTM C1193 explains that joint design and surface preparation directly influence sealant performance. ASTM C920 also classifies movement capability, including ±25% and ±50% movement classes. These figures matter when sealing expanding frames or moving construction joints. ISO 11600 uses similar movement classifications for building sealants. A sealant cannot compensate for weak adhesion or poor joint geometry. I still inspect edges under strong light, because small voids are easy to miss. A clean substrate remains the most dependable preparation step.
Silicone sealants typically form a surface skin within about 30 minutes, reach an initial cure after approximately 24 hours, and require around 7 days for full cure. Clean, dry, dust-free surfaces and adequate curing time help produce a stronger, more durable bond. Actual results vary with humidity, temperature, formulation, and joint depth.
Applying silicone sealant glue step by step starts with preparation. Clean both surfaces with a lint-free cloth and a suitable surface cleaner. Remove dust, grease, old sealant, and loose paint. Let the surfaces dry completely. Moisture trapped underneath can weaken the bond.
Cut the nozzle at a slight angle. Make the opening narrower than the joint width. Apply steady pressure while moving the tube slowly along the seam. A continuous bead usually performs better than several short lines. Smooth the bead with a damp shaping tool before a skin forms. Do not press too hard, or you may remove too much material. Check the product instructions for curing time. Many silicone sealants need several hours before light contact and longer before full loading.
Test a small hidden area first, especially on painted, porous, or delicate materials. Keep the joint still while curing. Use gloves and maintain airflow indoors. Avoid touching the surface repeatedly, even if it feels dry. Silicone can look finished while remaining soft underneath. My own mistake was testing strength too early. The result seemed acceptable, but the joint shifted overnight. Temperature, humidity, joint size, and material type can all change curing performance. Fresh, clean edges matter more than a thick bead.
A strong silicone bond begins with clean, dry surfaces. Remove dust, grease, old sealant, and loose paint before applying a steady bead. I often test a small amount on a hidden area first. It reveals whether the material adheres properly. Press the pieces together gently, but avoid squeezing out too much sealant. A thin, continuous layer usually bonds better than scattered spots. Use masking tape for neat edges, then remove it before the surface skins over.
Curing time matters more than many people expect. Silicone may feel dry after a short period, yet remain soft underneath. The surface can skin over within minutes, while deeper sections need much longer. Follow the product instructions, because temperature, humidity, and joint thickness change the timing. A cool, dry room can slow curing noticeably. Keep the bonded area still, dry, and free from pressure during this period. For a thick bead, allow extra time rather than trusting its outer surface. It may look finished.
I once disturbed a repair too early because the edge appeared firm. The bond later separated, which was avoidable. A gentle touch test is useful, but it cannot confirm complete curing. When possible, wait at least 24 hours, and longer for deep applications or poor ventilation. Avoid washing, stretching, or loading the joint until the center has fully hardened. Feel matters, but patience is more reliable.
A strong silicone sealant bond should be tested, not assumed. In practical repair work, I wait until the bead has fully cured before checking it. Curing time depends on bead thickness, humidity, temperature, and airflow. Pressing the edge gently can reveal soft or uncured material. A properly cured bead should feel elastic, not wet or crumbly. Check for bubbles, gaps, peeling corners, and uneven contact. Test a small hidden section first. If the sealant lifts cleanly from the surface, the preparation may have been inadequate. This test is simple, but it prevents larger failures.
Maintenance keeps the bond reliable. Wipe the sealed area with mild soap and water, then dry it completely. Avoid harsh solvents unless the surface material can tolerate them. Inspect exposed joints after temperature changes, heavy moisture, or movement. Cracks, dark gaps, and loose edges need attention. For repairs, remove all loose sealant with a scraper, then clean away residue and dust. Let the surface dry fully. New silicone usually adheres poorly to old silicone. Apply a continuous bead and tool it with gentle, even pressure. Follow the product’s curing instructions before exposing the joint to water or stress. I have rushed this step before, and the repair failed within days. A longer waiting period is often the more reliable choice.
